This guide covers everything from a blank machine to your first Nexus session — no steps skipped. Whether you've used privacy network marketplaces before or this is new territory, the process is the same. Eight steps: Tor Browser setup, verified link selection, link authenticity checks, account creation with PGP and 2FA, and Monero wallet configuration. Start from the top, or jump to the step you need using the sidebar.
Step 1: Download Tor Browser from the official source
Go to torproject.org and download Tor Browser for your operating system. Windows, macOS, and Linux are all supported. There's also an Android version — but mobile access carries real risks that desktop doesn't, covered in the OPSEC section below.
Don't download from any other source. Search results sometimes show unofficial mirrors or sites hosting modified installers. The only correct location is torproject.org, which serves cryptographically signed packages. If your ISP blocks the Tor Project's website, use their built-in bridge options or download via the official mirror at their GitHub releases page.
Windows: download the .exe installer, run it, extract to a folder you control
macOS: download the .dmg, drag to Applications, right-click → Open the first time (Gatekeeper warning)
Linux: download the .tar.xz, extract, run start-tor-browser.desktop or the shell script directly
Android: get the official Tor Browser for Android from Google Play or Guardian Project's F-Droid repository
For high-stakes sessions, consider Tails OS — a live operating system that boots from USB, routes everything through Tor, and leaves no trace on the host machine after shutdown. It includes Tor Browser by default. Whonix is another strong option: a pair of virtual machines where the gateway VM handles all Tor routing and the workstation VM runs your browser. Both are harder to de-anonymize than a standard desktop setup.
Step 2: Verify the download before running anything
This step takes five minutes and prevents a specific attack: someone serving you a modified Tor Browser installer. It happens through compromised mirrors, malicious redirects, and in some cases ISP-level tampering. The Tor Project signs every release with a GPG key. Verify before you run.
Download GnuPG if you don't have it already. Windows users can use Gpg4win. The Tor Project's signing key fingerprint is published at torproject.org — import their key, verify the fingerprint matches what's published, then check the installer signature:
// terminal — Linux / macOS
gpg --verify tor-browser-linux-x86_64-13.0.tar.xz.asc \
  tor-browser-linux-x86_64-13.0.tar.xz

# Expected output:
# Good signature from "Tor Browser Developers (signing key)"
A good signature outputs "Good signature from 'Tor Browser Developers'." If you see an error about an unknown key, import the Tor Project's key first using the fingerprint from their website. "BAD signature" means stop — don't run that file. Download again from torproject.org directly and repeat.
Windows and macOS users can verify through Gpg4win's Kleopatra GUI or GPG Suite on macOS. The process is the same: import the Tor Project key, then verify the .asc signature file against the installer package.
Step 3: Set security level to "Safest" before any browsing
Open Tor Browser. Before going anywhere, click the shield icon in the toolbar — right side, next to the address bar. Select "Safest." Do this before visiting any .onion address. Don't browse first and change settings later.
"Safest" disables JavaScript on all non-HTTPS sites — which in practice means JavaScript is off on every .onion address. It also restricts WebGL, canvas API access, HTML5 audio and video, and some remote font loading. This matters because JavaScript running on a .onion site can fingerprint your browser, potentially leak your circuit's exit-point information, or exploit browser vulnerabilities.
JavaScript: disabled on .onion and HTTP sites entirely
WebGL and canvas API: blocked (prevents canvas fingerprinting)
HTML5 media: restricted without click-to-play
Remote fonts: not loaded from external servers
Nexus's interface loads correctly without JavaScript. The marketplace was designed with Tor's bandwidth constraints in mind — lightweight layout, fast rendering, no JS dependencies for core functionality. You won't lose access to listings, messaging, or the wallet interface by running at "Safest." It's the intended way to use the platform.
Step 4: Copy a verified .onion address — never type manually
Nexus .onion addresses are 56 characters long. One wrong character routes you to a phishing site that replicates Nexus's interface down to the font rendering. Don't type the address. Copy it from a verified source — then verify it against a second source before entering credentials.
The complete list of all 4 Nexus mirrors is on our mirror directory page. All mirrors connect to the same backend — account data, balance, and order history are identical across all four. If one is slow, use another.
For a second source: Nexus posts PGP-signed mirror updates on Dread. Cross-check the address you have against the latest signed post. Any address not appearing in an official signed announcement should not be used. If you're unsure, come back to this page — the mirrors directory is updated whenever Nexus publishes new verified addresses.
Step 5: Paste into Tor Browser and wait for the interface
Paste the .onion address into Tor Browser's address bar and press Enter. First connection to the Tor network takes 20–40 seconds — Tor is establishing a circuit through three relay nodes. Subsequent loads within the same session are faster because circuits are already open.
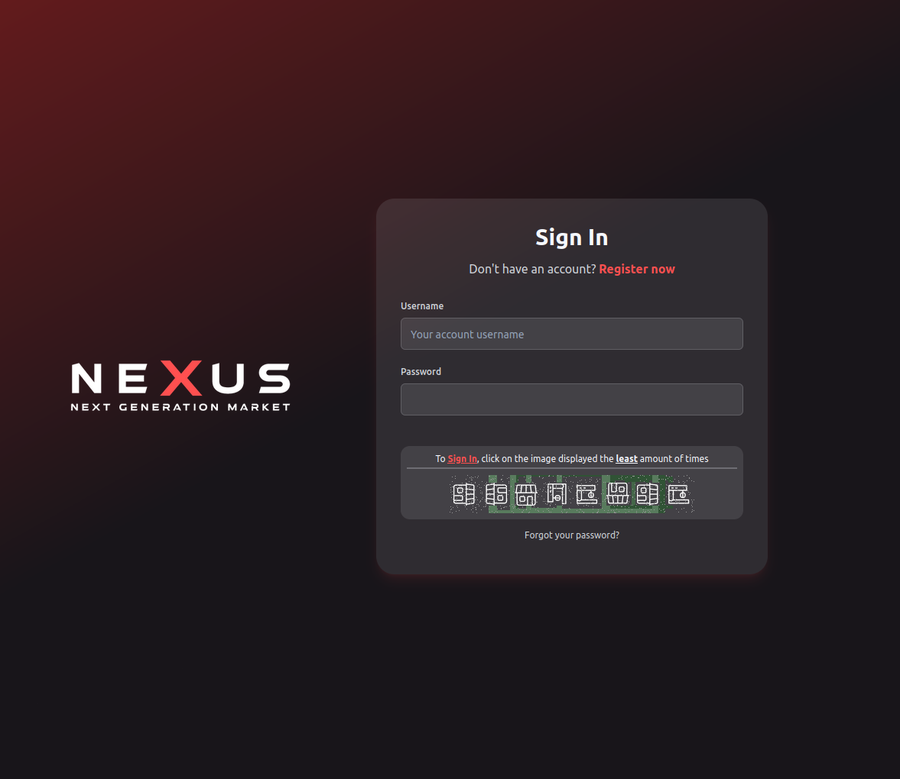
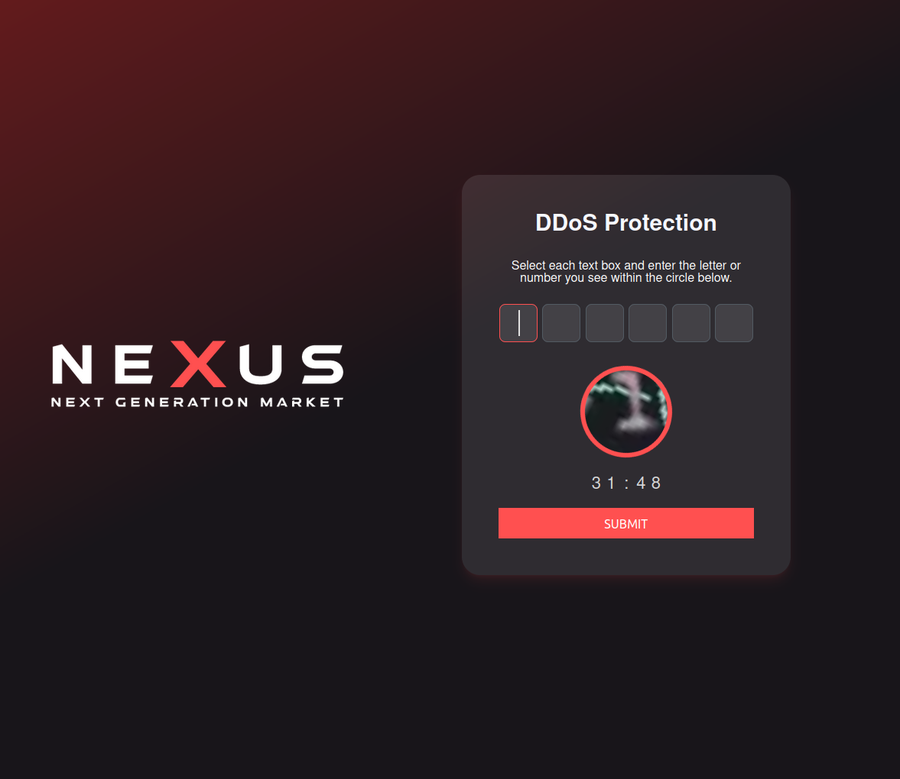
What you'll see when you arrive: Nexus has the most recognizable visual identity of any major marketplace. Hot pink and cyan text against deep purple-black backgrounds. The login form appears immediately, clean, no popups, no redirect delays.
The Nexus login screen. If the design looks different, you're on a phishing site — don't enter credentials.
If the connection times out: don't retry the same address repeatedly. Try a different mirror from the directory. High DDoS activity sometimes affects individual mirrors while others remain reachable. If all mirrors are slow, wait a few minutes and try again — 98.2% uptime means downtime is brief when it happens.
One thing to avoid: trying to load the .onion address in Chrome, Firefox, or any regular browser. It won't work. .onion addresses are Tor-only. If your ISP blocks the Tor network itself, configure a bridge in Tor Browser's connection settings before connecting.
Step 6: Verify you're on the real Nexus before logging in
Phishing sites copy Nexus's design. Some copies are accurate enough to fool experienced users. Before you type your username or password, run through three checks. They take 60 seconds. That's worth it.
Check the URL bar. Read the .onion address character by character against the verified address you copied. Phishing sites use addresses that look similar at a glance — substituting lowercase "l" for "1", "0" for "o", or slightly reordering a cluster of characters mid-string. Read the whole thing.
Check the visual details. Nexus's authentic design has specific rendering characteristics. The spacing, color values, and interaction behavior are consistent across all mirrors. If anything looks off — colors slightly different, layout spacing wrong, fonts rendering differently — don't log in. Exit and reload using a different verified address.
PGP verification (optional but thorough). Nexus admin PGP announcements on Dread are signed with a known key. If you want high confidence on a new address, verify it against the latest signed post using GnuPG. This takes about three minutes and removes all doubt.
One wrong link costs more than the time to check. Credentials on Nexus give access to your account balance and order history. Don't hand those to a phishing site. Verify, then log in.
Step 7: Register with a unique username, PGP key, and 2FA
Nexus registration requires a username and password. It also supports PGP login and TOTP 2FA — enable both before depositing anything. Here's how to do each one correctly.
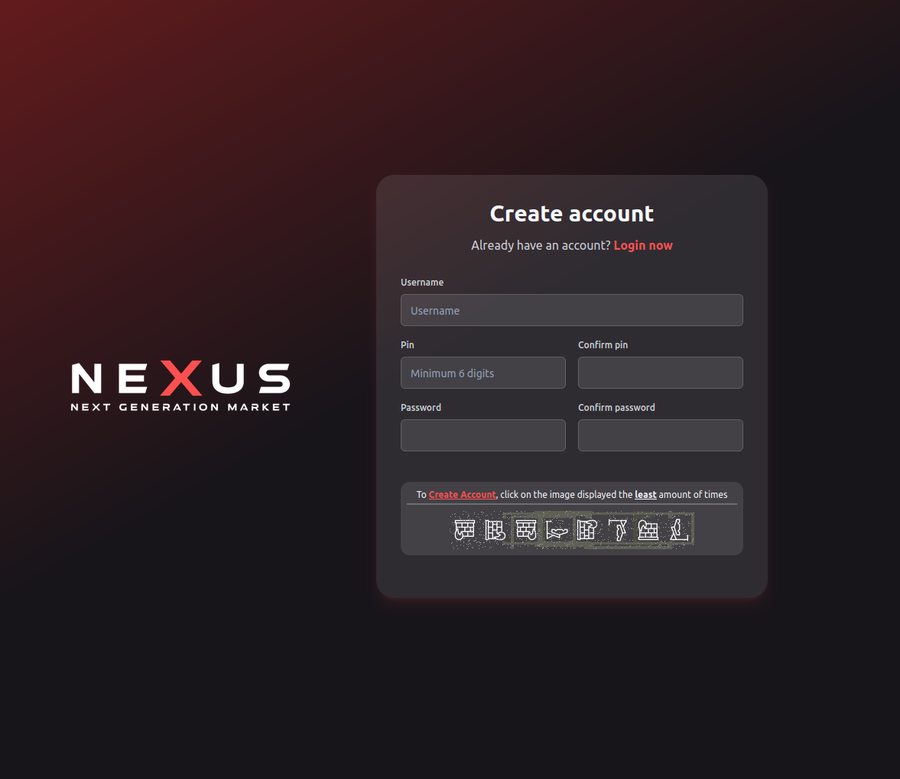
Nexus registration form. Use a username you've never used anywhere else.
Username: Pick something you've never used on any platform — surface web or privacy network. Don't use a variation of an existing handle. Unique usernames break the chain of identity linkage. If you already have a Dread or forum account, use a different name on Nexus.
Password: Use KeePassXC to generate a random 30+ character password and store it in an encrypted offline database. Don't use any cloud-syncing password manager. KeePassXC keeps everything local, on your machine, in an AES-256 encrypted .kdbx file.
PGP key: Generate a keypair with GnuPG before registering. Upload your public key to your Nexus profile. Keep your private key offline. Nexus supports passwordless PGP login — your private key authenticates you instead of a password, removing the password attack surface entirely.
// generate an ed25519 keypair for nexus
gpg --full-generate-key
# Choose: (9) ECC (sign and encrypt) *then* (1) Curve 25519
# Expiry: 2y  (rotate keys annually)
# Name: use a pseudonym — not your real name
# Email: optional, can be left empty

# Export public key for Nexus profile upload:
gpg --armor --export YOUR_KEY_ID > nexus-pubkey.asc
2FA: After registration, immediately open account settings and enable TOTP 2FA. Use KeePassXC's built-in TOTP support, or a dedicated authenticator app on a device used for nothing else. Save the backup codes offline — in your KeePassXC database or printed and stored physically. With PGP login plus 2FA active, account takeover requires physical access to your devices.
Step 8: Set up a Monero wallet and make your first deposit
Nexus accepts Bitcoin (BTC), Monero (XMR), and Litecoin (LTC). Monero is the right choice for privacy. XMR transactions obscure sender, receiver, and amount by default — the privacy is built into the protocol, not bolted on. Bitcoin transactions are visible on a public blockchain and are traceable through chain analysis.
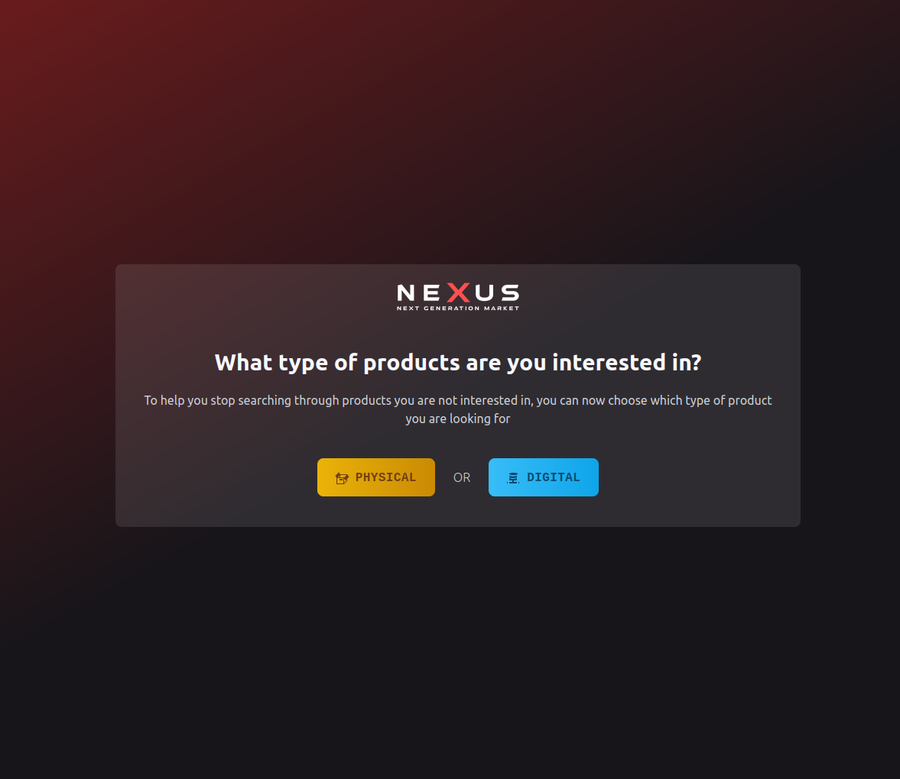
Nexus wallet interface. Each deposit generates a fresh one-time address.
Setting up Monero: download the official desktop wallet from getmonero.org. Don't use exchange wallets or browser-based wallets — use the official GUI or CLI wallet where you hold the keys. The Monero GUI handles receiving, sending, and syncing with the blockchain through its built-in node or a remote node.
Buying XMR: purchase from a reputable exchange. Withdraw immediately to your self-custody Monero wallet — don't hold on the exchange. Wait for the Monero network to confirm (typically 10 blocks, about 20 minutes with standard fees). Then log into Nexus, navigate to your wallet page, and generate a deposit address. Send from your self-custody wallet to that address. Nexus generates a unique deposit address per session — this is normal.
20,388 active listings across 1,932 verified vendors. Browse after funding your wallet.
Completed transactions go through Nexus's 2-of-3 multisig escrow. Three keys: yours, the vendor's, and Nexus's. Any two parties must agree to release funds. Nexus can't move your escrow balance unilaterally — it needs collusion with either you or the vendor. This is fundamentally different from centralized escrow where the platform holds all the keys.
LTC is a reasonable alternative if you already hold Litecoin. Faster confirmations than BTC and lower fees. Less private than Monero due to its transparent blockchain, but lower chain analysis infrastructure than Bitcoin means it's harder to trace in practice. Pick what fits your existing holdings and threat model.
For your first order: browse the 20,388 listings, check vendor ratings and their completed-order history, and favor accounts with significant finalized feedback over newer ones. The escrow system protects you — but good vendor selection is still the first line of defense. The platform overview page covers vendor verification in more detail.
// operational security
Stay safe after you're in
The eight steps above get you access. These practices keep that access private and protect your account beyond the initial setup.
// opsec principle
The strongest lock is useless if you leave the door open somewhere else.
⧉
Compartmentalize every identity
Separate identity for each platform. Don't link your Nexus account to any surface-web identity — not by username, not by writing style, not by shared PGP keys. Your Nexus identity should have zero overlap with anything that traces back to you outside Tor.
⟳
Withdraw funds immediately after orders
Don't leave funds sitting in your Nexus wallet longer than necessary. Deposit what you need for the current order, finalize it, and move on. Every balance sitting on any platform carries platform risk. Nexus's multisig escrow reduces this — it doesn't eliminate it entirely.
⌖
Use Tails or Whonix for high-stakes sessions
Tails OS leaves no trace after shutdown — everything runs in RAM, nothing writes to disk. Whonix routes all traffic through a dedicated Tor gateway VM, so even if your workstation VM is compromised, your real IP doesn't leak. Both are significantly harder to de-anonymize than a standard desktop with Tor Browser.
⊗
Check mirrors after each DDoS period
Bookmarking a .onion address is fine — but during periods of high DDoS activity, Nexus sometimes rotates mirrors. An address that worked last week may be deprecated. This site's mirror directory reflects the current verified set, updated against PGP-signed announcements. Cross-check before each session if you've been away for a while.
⊕
Never cross-contaminate browsers
Never open a Nexus session in any browser other than Tor Browser. Never search for Nexus or paste a .onion address into a regular browser's address bar. Cross-contamination between privacy network activity and regular browsing creates linkable data points — ISP logs, DNS queries, browser history — that are difficult to scrub after the fact.
// mirror architecture
Why Nexus runs 4 mirrors
Privacy Network marketplaces face sustained DDoS attacks — some lasting days. Nexus distributes traffic across 4 verified mirrors so a sustained attack on one address doesn't bring down the whole platform. All 4 mirrors connect to the same backend: your account, wallet balance, and order history are identical across all of them. If one mirror is slow or unreachable, switch immediately. Don't wait on a single address. The mirror directory lists all 4 current verified addresses.
98.2% uptime across all mirrors — April 2026
// you're ready
Copy the verified link and open it in Tor
All 4 Nexus mirrors verified against PGP-signed Dread announcements. Same platform, 4 routing paths. Pick any one.